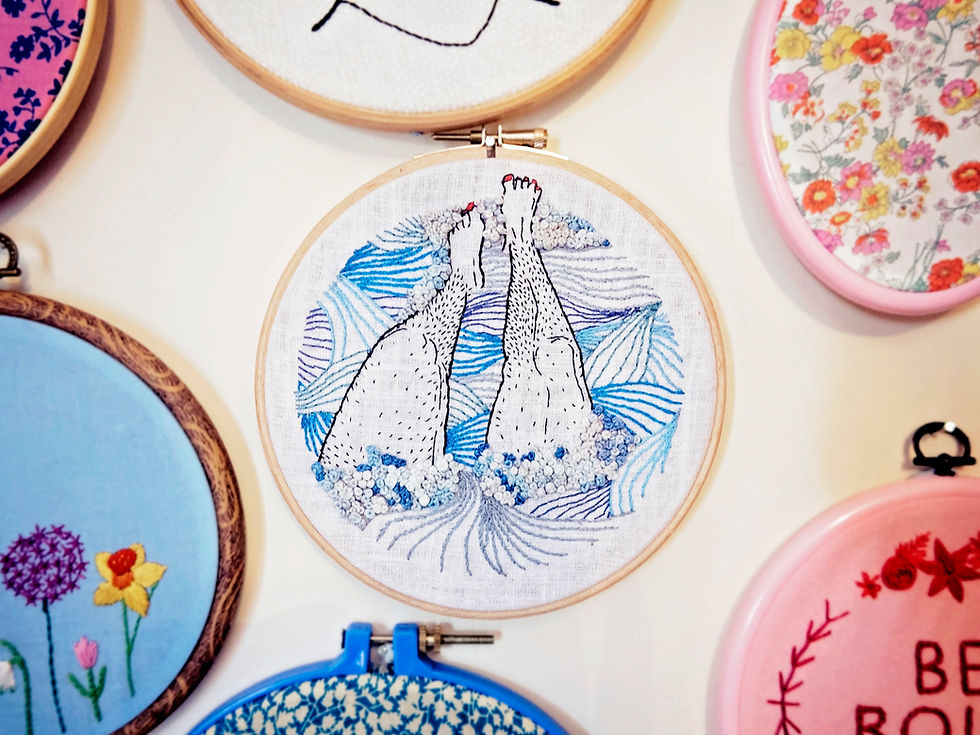
Once you've finished your embroidery, you might want to frame it in the hoop to display and gaze at lovingly. There are many ways to do this, but this is by far the quickest, easiest and my favourite method! Other methods include trimming the fabric really close to the hoop and leaving it at that, hot gluing the fabric to the hoop (I don't like this method as I like to readjust my work in the hoop from time to time or reframe), or hot gluing felt on the back.
Not only is this method quick and easy, it is reversible so if you're not happy with the result or want to take it out of the hoop in the future, you can just snip the thread and take it out!
I usually place a piece of decorative fabric on the back of my finished embroidery with the wrong sides together to cover up any dodgy stitching. I haven't in this video because I like to leave the back exposed for pieces I use for workshops.
This video uses my Bath Legs embroidery design, which is a collaboration with Joe Fear Illustration. You can buy the DIY embroidery kit HERE.
Watch the video tutorial:
Photo tutorial:
Once you've completely finished stitching your design, place it in the hoop so it's pulled tight and centred and you're completely happy with the position.
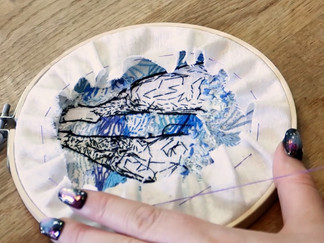
Then trim around the edges with some scissors so there's a border of a few inches. I sometimes use pinking shears to do this to give a nice zig zag edge but that isn't necessary at all.
Thread your needle with a piece of floss that is long enough to go all the way around the hoop and knot the end. I use two strands of floss and would usually do this in white, but chose a colour you can see for this.
Bring your needle from the back of your work to the front to get started, making sure it is anchored with the knot.
Do running stitch all the way around the piece - you can keep your stitches quite long. It doesn't matter if the stitches are too even or not because this is not for decorative purposes.
Once you get to the end and you've met where you started, pull it really tight like a drawstring, and then secure with a knot and you're done.
Ta-da!


Comentários